The Workflow Page. Bookmark This One.
Everything you need to actually create posts, from upload to clipboard. Side-by-side walkthroughs for photo and link, the controls you'll use most, hashtag tips, history filtering, and the small platform quirks that catch first-timers off guard.
Side by Side: Photo and Link
Both modes share the rest of the workflow. The only thing that differs is what you give PostHelp at the start. Read whichever column matches what you're doing today.
Creating a Post from a Photo
Pick the Photo Tab
On the Generate Post screen, click the 📸 Photo tab if it's not already active. If your profile has Photo set as the default input mode, this is already the active tab when the screen loads.
Upload Your Photo
Drag a photo onto the dropzone, or click to browse. Works on phone (where the upload button opens your camera roll) and on desktop. JPEG, PNG, and WebP all work. File size up to about 10 MB.
Once uploaded you'll see a preview. If the photo came in sideways from a phone (very common), use the 🔄 rotate button on the preview to spin it 90 degrees at a time before generating.
Continue to Post Details
Once the photo looks right, scroll down to fill in the post details (next section). Photo mode shows a Category picker because the AI doesn't know what kind of post this is until you tell it.
Creating a Post from a Link
Pick the Link Tab
Click the 🔗 Link tab. If your profile has Link set as the default input mode, this is already the active tab when the screen loads.
Paste the URL
Paste any public URL into the URL field. Blog posts, product pages, contact pages, FAQ pages, signup pages, event pages, even short marketing pages all work. PostHelp uses content extraction with a fallback for thin pages, so it handles more than just long-form articles.
Pages behind a login, a paywall, or a hard redirect error fail gracefully. You'll see a clear message if PostHelp couldn't read the page, and no generation gets consumed.
Click "Show an Excerpt"
An expandable panel below the URL field lets you see exactly what PostHelp extracted - the page title, a body snippet, the resolved page type, and the representative image PostHelp will use. Use it to confirm PostHelp read what you expected before generating.
Then continue to post details. In Link mode the Category picker is hidden because PostHelp auto-detects category from the page schema (BlogPosting, Product, NewsArticle, WebPage).
Adding a Quick Note (When and When Not To)
Below the photo upload or URL paste field, there's an optional Context field. Use it to point the AI at something it might miss.
The context note is a short line of text the AI reads on top of the photo or page content and your profile. It's the best way to steer a single post toward a specific angle without permanently changing your profile.
When a note helps
Tells the AI the work just wrapped and there's a deadline angle worth playing up. It would never know that from the photo alone.
When a note helps
Gives the link-mode AI a deadline to anchor against, even if the page itself doesn't mention the sale prominently.
When you can skip the note
The AI can already see it's a kitchen. Notes that just describe what's in the photo don't add anything - they're noise.
When you can skip the note
That's already what your profile's voice/tone settings are for. A note works best when it adds a fact the AI couldn't get otherwise.
Choosing Your Post Details
Three pickers and a row of platform checkboxes. These shape what comes back when you click Generate.
Category
Photo mode only. Auto-detected from the page schema in Link mode. Shapes the angle of the caption.
- 🔧 Completed Job
- 📚 Educational
- 🎉 Promotional
- ⭐ Review Request
- 📅 Seasonal
- 🤝 Community / Local Pride
- 🎬 Behind the Scenes
Length
Three options. Length is no longer bundled with hashtag count - those are per-platform settings.
- Short (1-2 sentences)
- Medium (3-4 sentences, default)
- Long (full paragraph, 5-7 sentences)
Platforms
Check the platforms you want captions for. Each checked platform counts as one generation when you click Generate.
- Google Business Profile
What Happens When You Click Generate
PostHelp gathers everything the AI needs into one bundle: the photo or extracted page content, your profile (business name, services, voice, rules, About description), your 20 most recently saved posts for voice context, your context note, your settings, and a per-platform style instruction. It sends one request per checked platform.
All requests run in parallel. The whole batch usually finishes in under ten seconds. You'll see a progress indicator on each platform card while it works, and each card resolves independently as its caption comes back - so you can start reading the first one while the slowest is still finishing.
Each checked platform consumes one generation. If you check three platforms, three generations are used. If a platform fails (rare - usually a network blip), no generation is consumed for that platform and you can retry that platform alone with the Redo button.
Edit, Redo, and Save
Each platform's caption appears in its own card with three controls. You're free to use any combination on any caption - they don't depend on each other.
Edit the text inline
Click anywhere in the caption text to edit it. Tweak a word, add a phone number, adjust the call to action, fix anything that landed wrong. Editing is free - it doesn't consume a generation.
Redo a single platform
If a caption missed the mark, click Redo on that platform card to generate a fresh one. Your other platforms aren't touched. Each Redo costs one generation - it's a re-run, not a free retry.
Save what you love
Click Save to keep the caption in History. Saved captions feed the AI's voice memory (rolling 20-post window), so saving the ones that sound like you makes the next ones sound more like you too. Saving is free.
Saving and Finding Past Posts
The History tab shows every post you've saved. Each entry holds the original input (photo or URL), the saved caption, the platform, the date, and any context note you typed.
If your profile has "Auto-save on Copy" turned on, clicking the per-platform Copy button saves the caption to history automatically - no separate Save click needed. If it's off, you save explicitly. The setting lives in the profile editor; default is on, because forgetting to save is a real thing and the cost of saving everything is small.
Three-button filter at the top
When the list gets long, narrow it down by input type. Photo entries show the photo thumbnail and a caption preview. Link entries show the source title, the derived domain, and a thumbnail resolved from og:image, favicon, or PostHelp default.
Copying and Pasting to Each Platform
The captions PostHelp generates are platform-tuned, but each platform has its own quirks for the actual posting step. Here are the ones that catch people off guard.
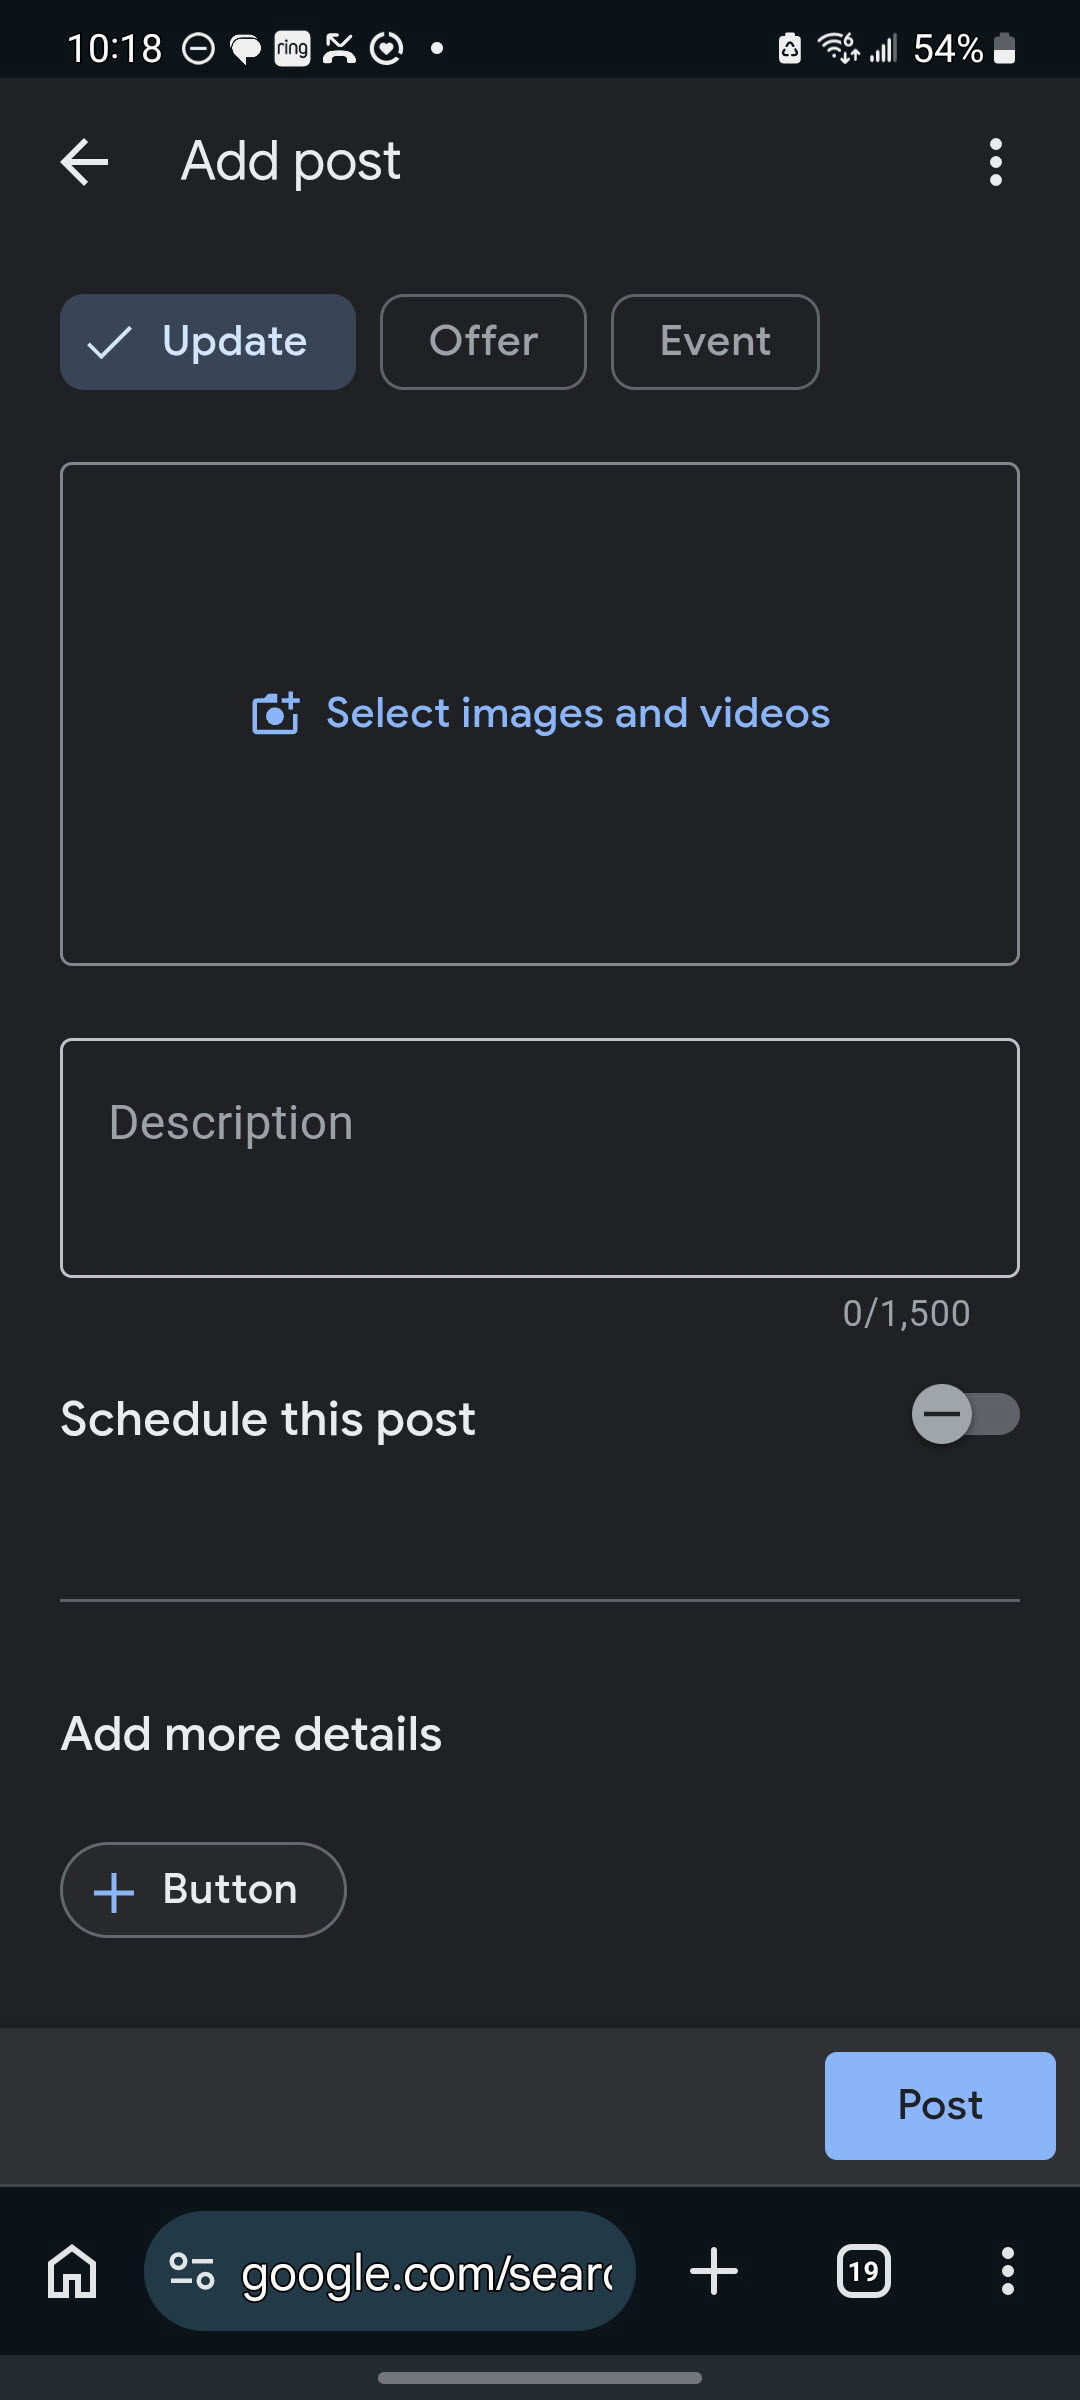
Google Business Profile
Photo upload is separate from the caption. When you create a GBP update, paste the caption into the text field, then use GBP's own photo upload button to attach the image. PostHelp's photo upload doesn't carry over - GBP needs you to upload directly.
Hashtags are off by default in PostHelp because Google ignores them in GBP results.
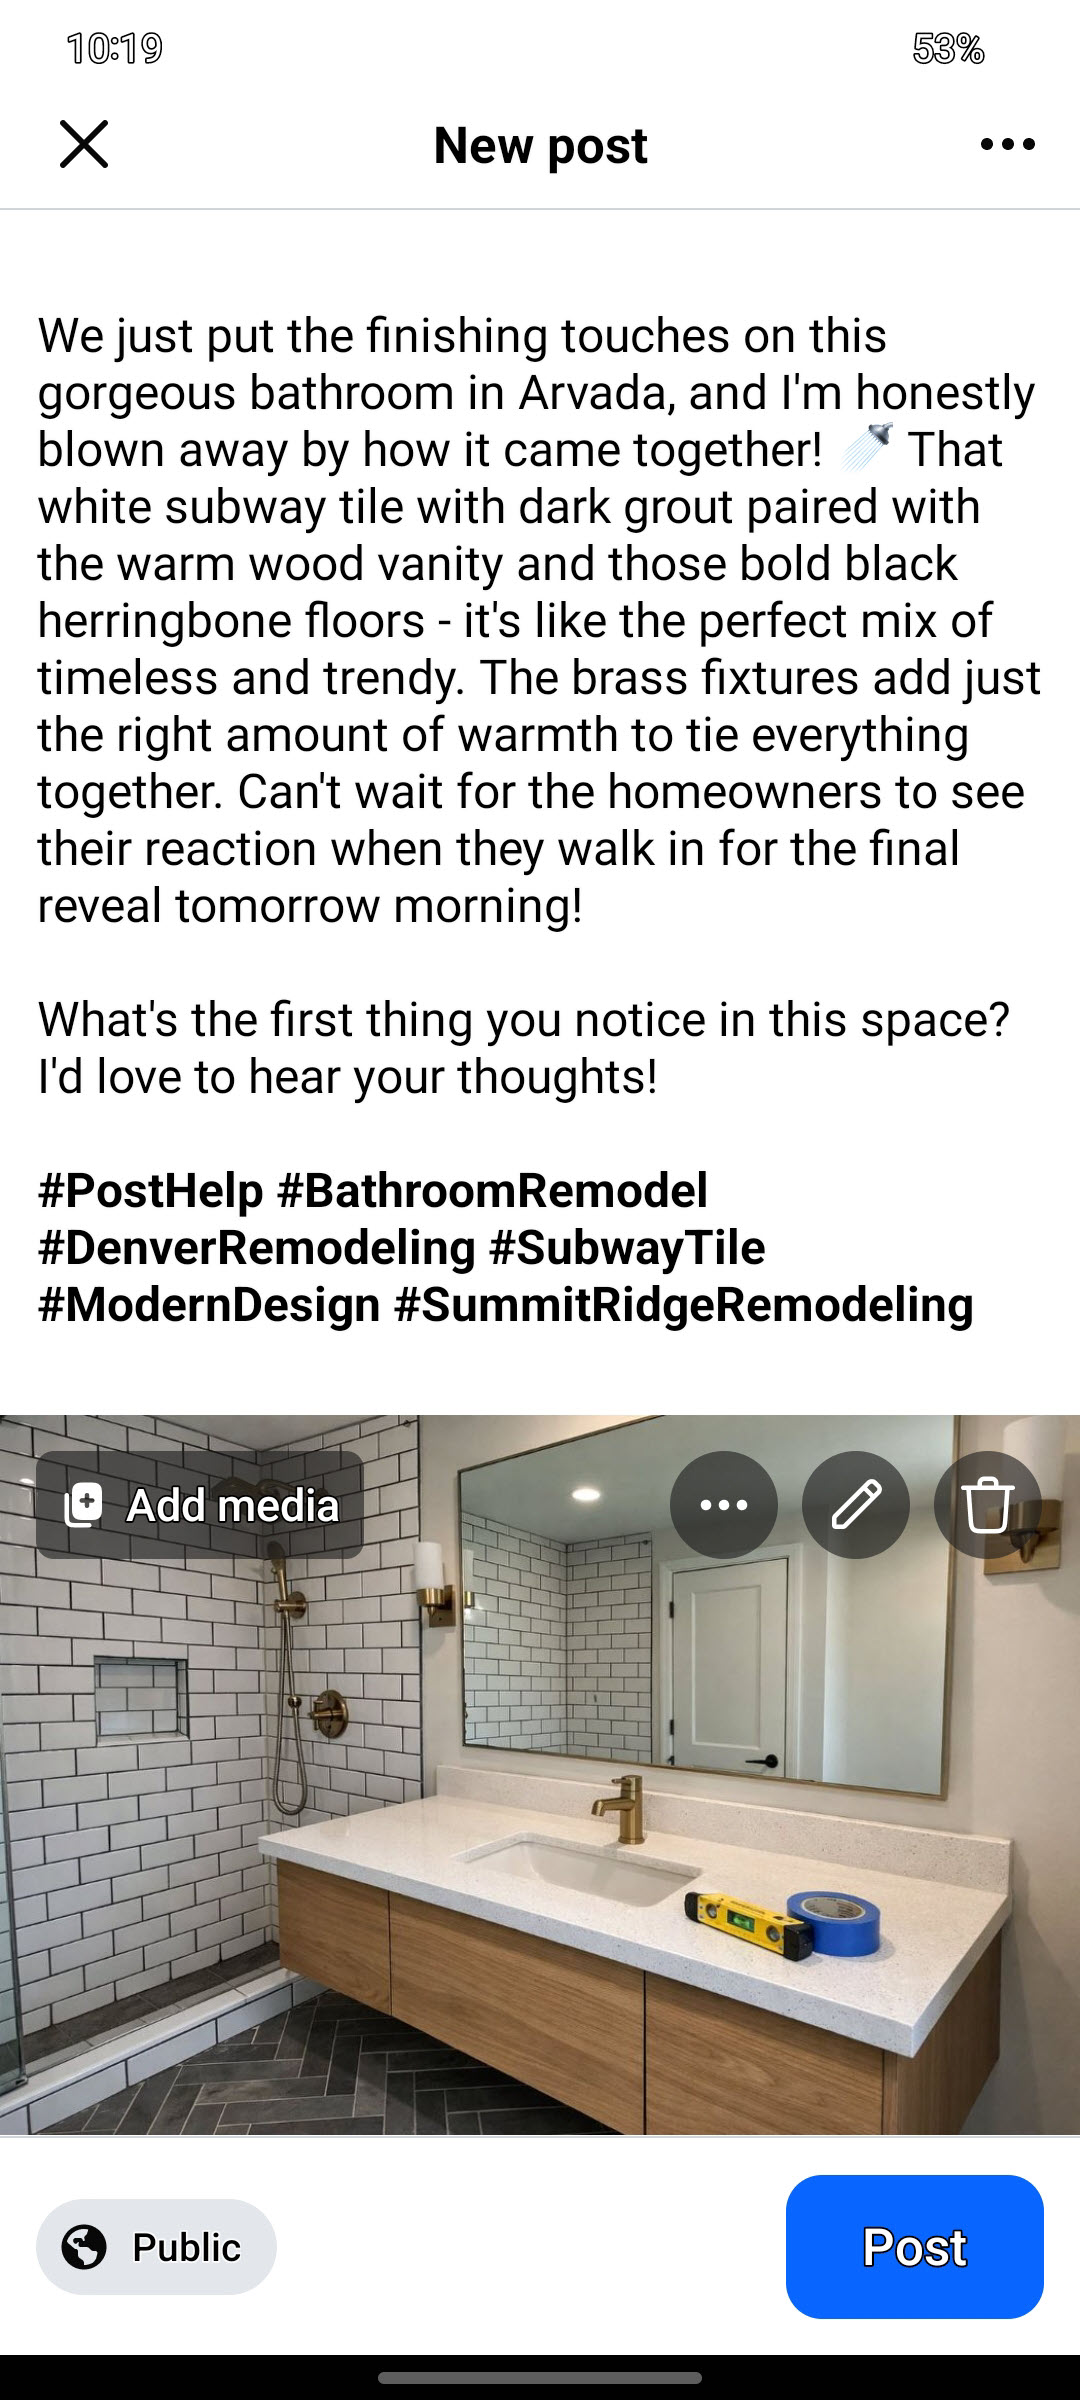
Pastes cleanly. Both desktop Facebook and the Android Facebook mobile app accept the full caption and photo with formatting and emojis intact. On the iPhone you will need to paste the caption
Facebook encourages use of hashtags and PostHelp will pick relevant ones for you..
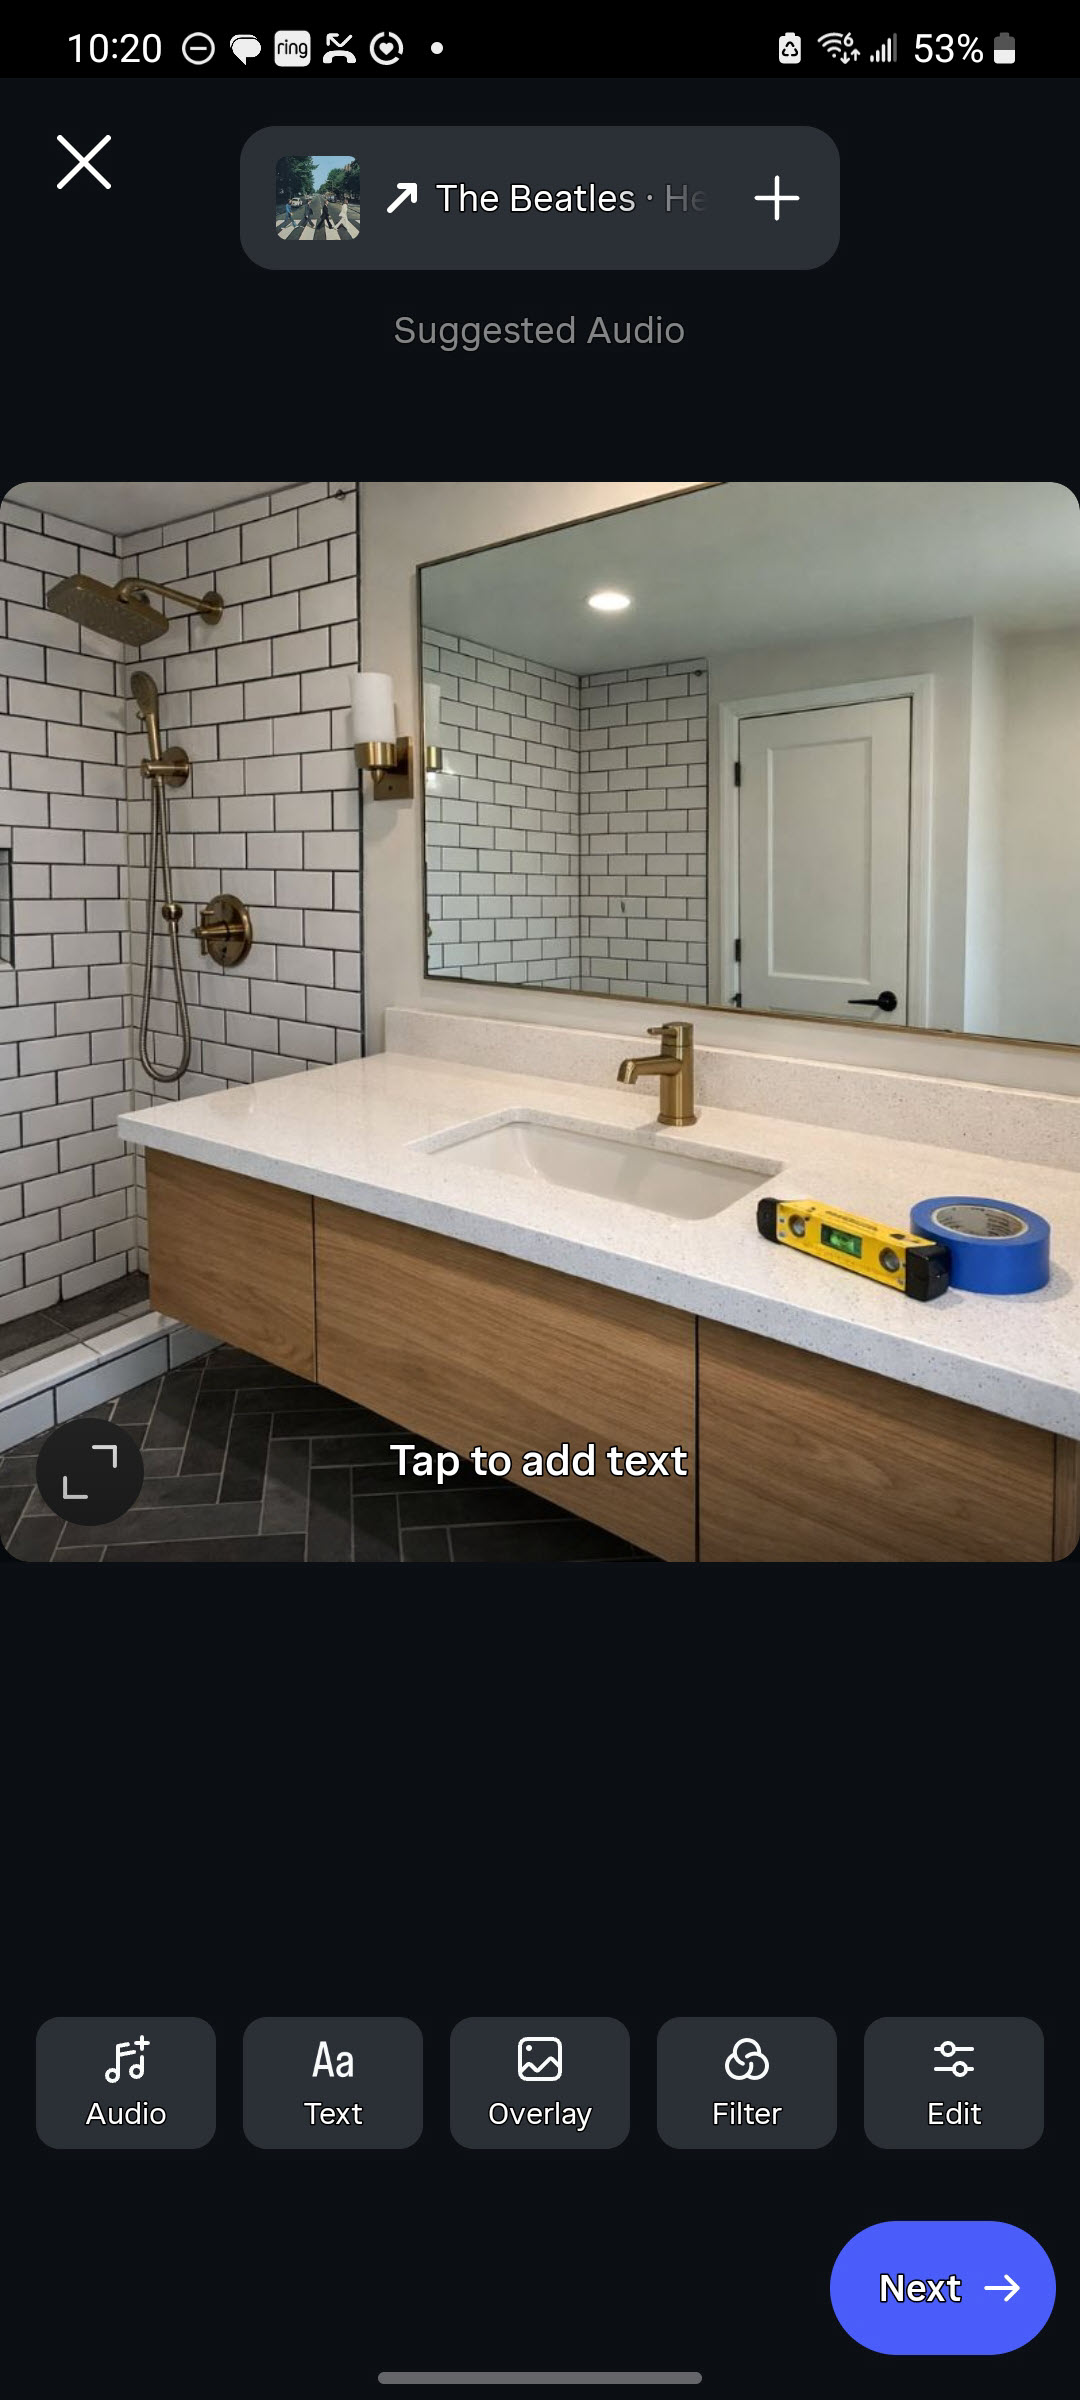
Instagram doesn't always accept paste-with-formatting cleanly on the mobile app. Long-press the caption field, pick Paste, and verify the line breaks landed correctly. Edit any spacing that drifted. You may want shorter captions for Instagram.
Instagram has a 30-hashtag hard cap. PostHelp defaults to 15 to stay well under it without looking sparse.
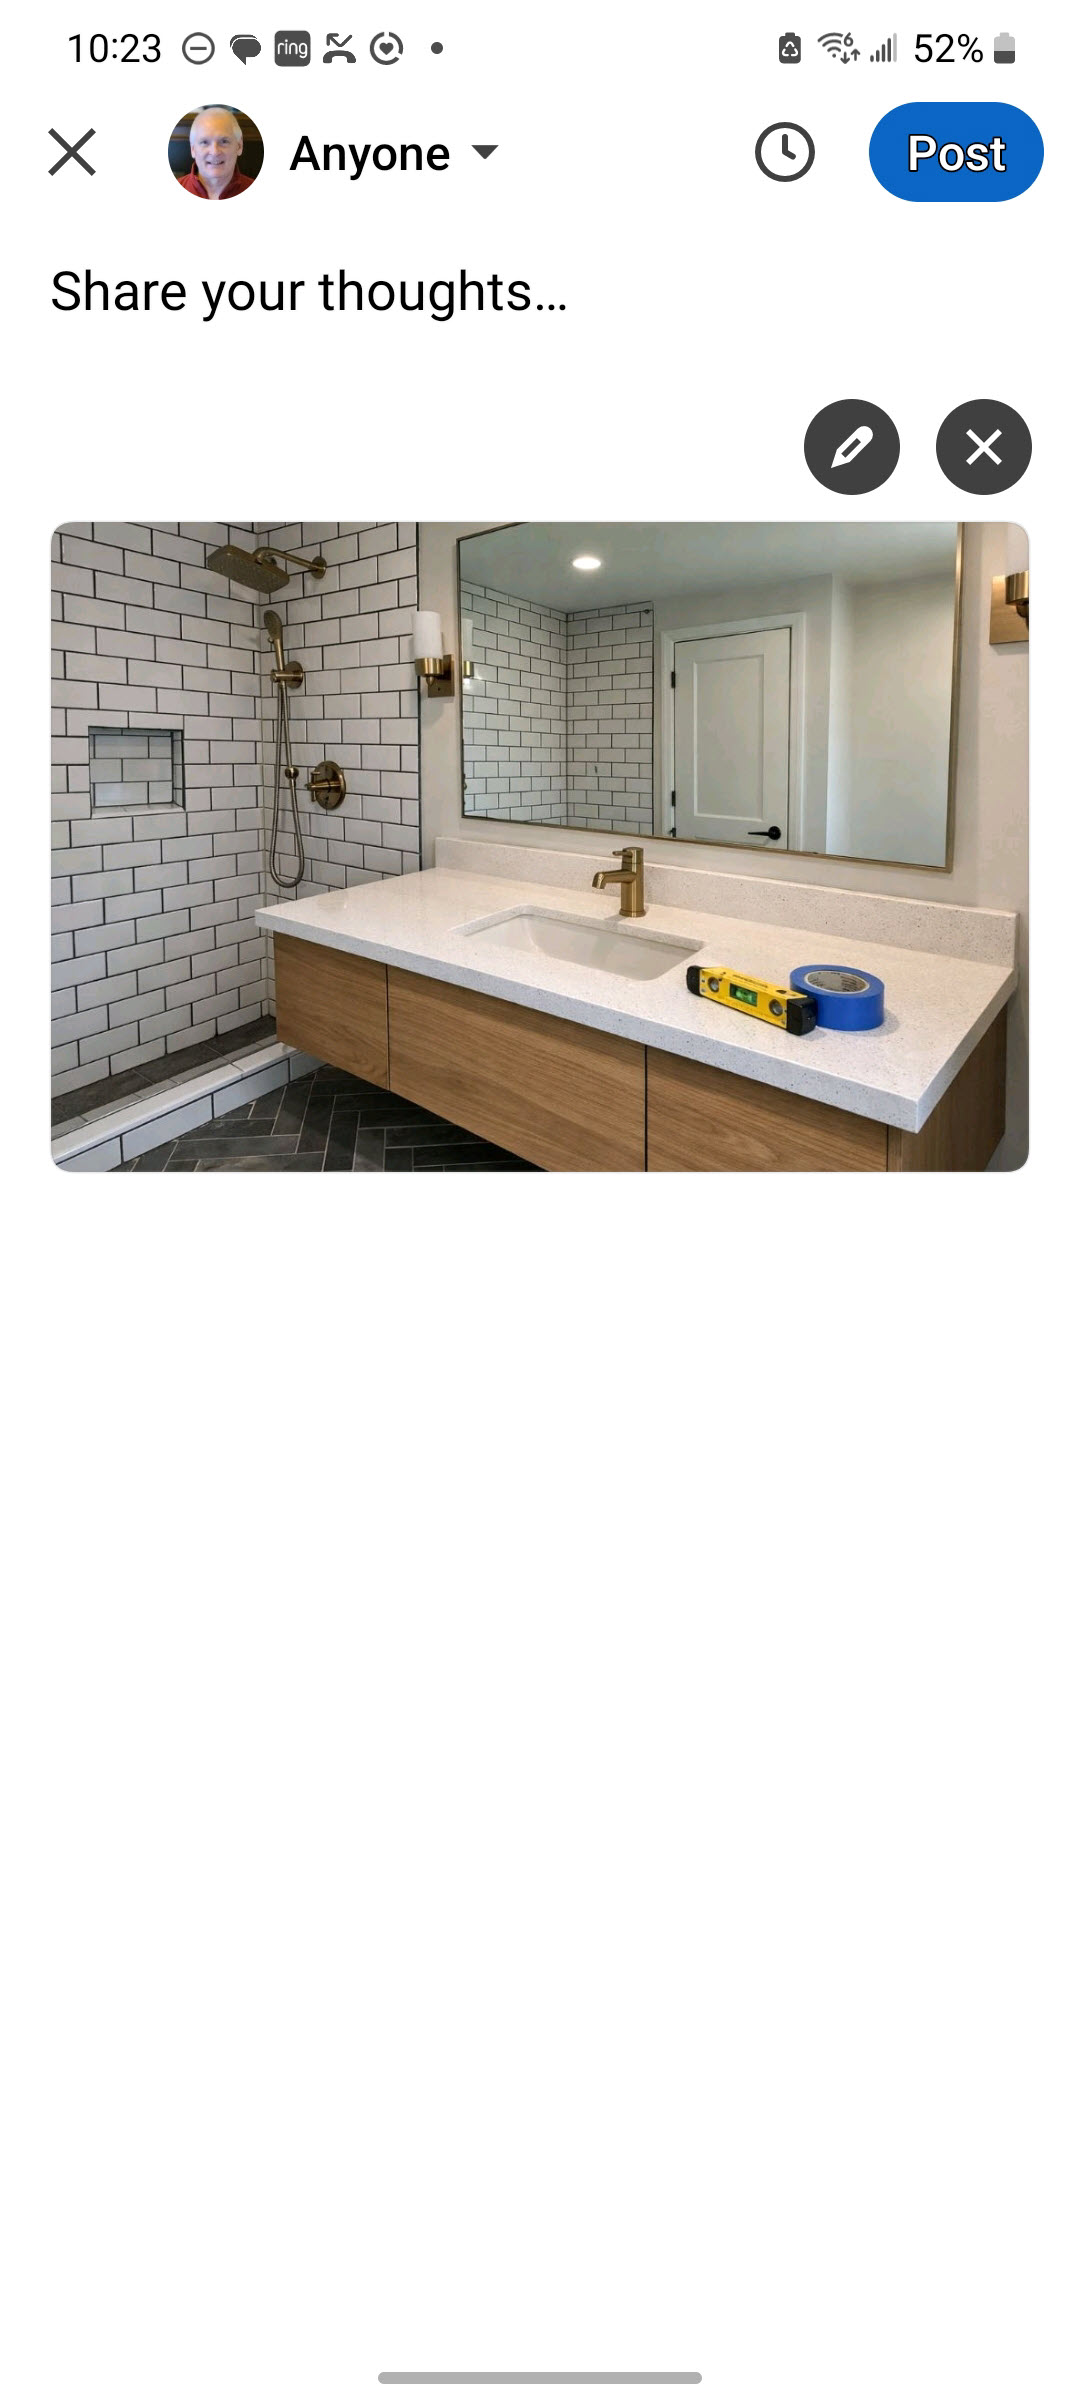
Image pastes cleanly across desktop and mobile, but you need to paste the caption. The polished tone PostHelp generates for LinkedIn is intentionally more reserved than the other platforms.
3 hashtags is the default for a reason - LinkedIn rewards posts that look like industry insight, not posts that look like marketing.
Re-using What Already Worked
Click Redo on any saved entry in History. For a photo entry, the photo and the context note come back. For a link entry, the URL and the context note come back, and the input tab automatically switches to Link.
The original entry stays untouched. The new generation produces fresh captions, costs one generation per platform, and saves separately if you choose to save it. Use Redo from History for seasonal repeats, restocks, recurring promos, or anytime a past post worked and you want a similar but fresh version.
Works for both modes. The two-input parity goes all the way through.